...
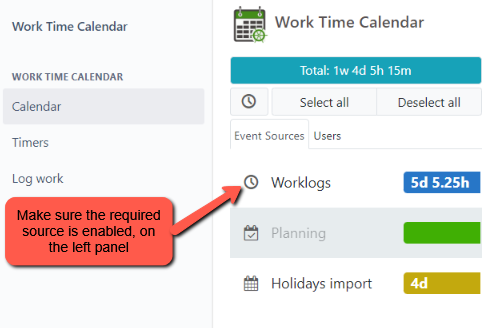
To create a worklog event, first, make sure that the required worklog source is enabled, on the left panel.
  |
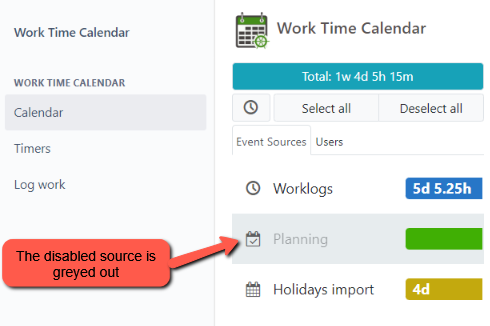
The disabled source will be greyed out.
  |
Then, click or click-and-drag on a calendar. Note that while you are dragging over the calendar, the end time changes and the start time is fixed based on your click. In addition, the duration of the event is shown next to the end time.
...
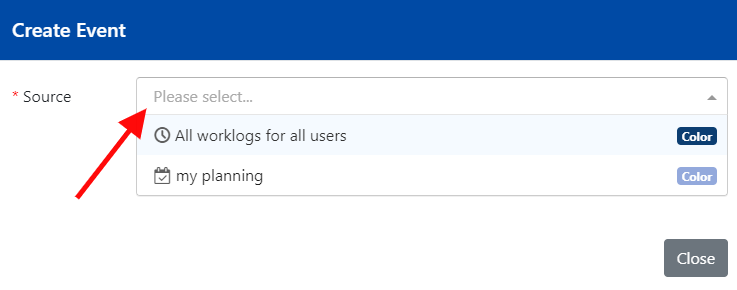
In case you haven’t created any worklog event yet and there are more than one source enabled on the left panel, you would have to select a required source.
 |
| Info |
|---|
The source that you used the last time for event creation will be populated into the Source field, next time you are about to create an event. |
...
You can also create a worklog event by clicking Log work, on Jira menu:
  |
...
| Note |
|---|
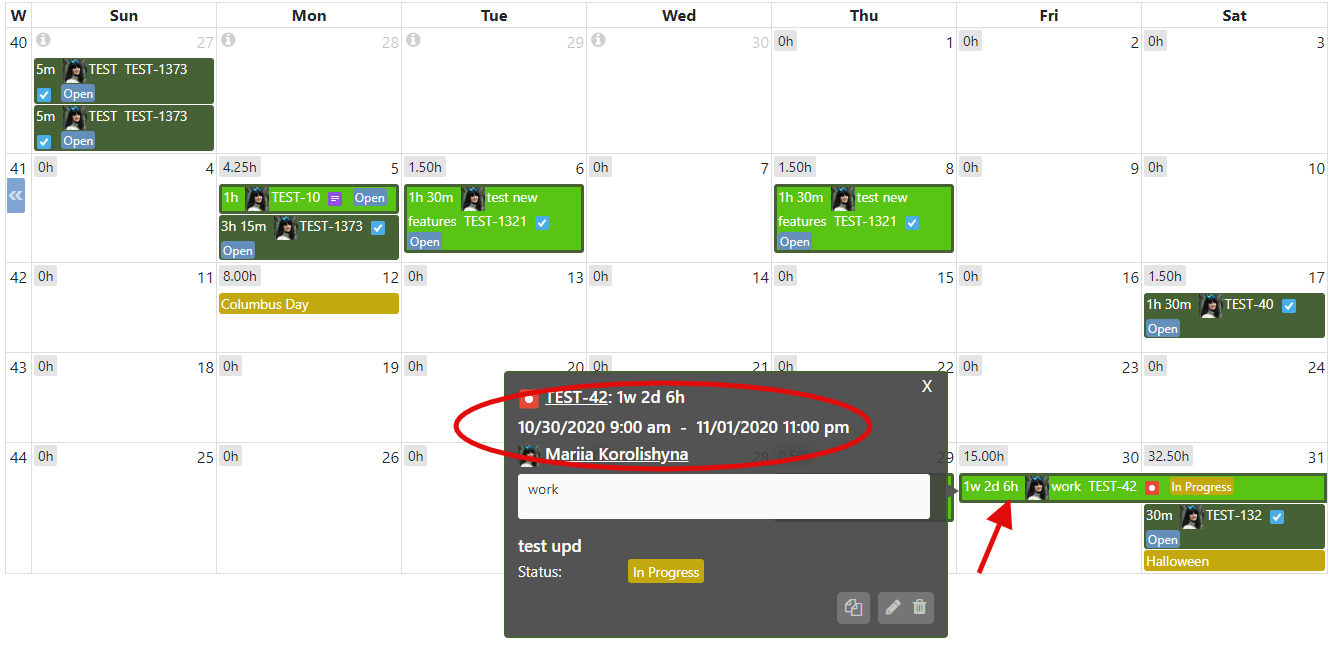
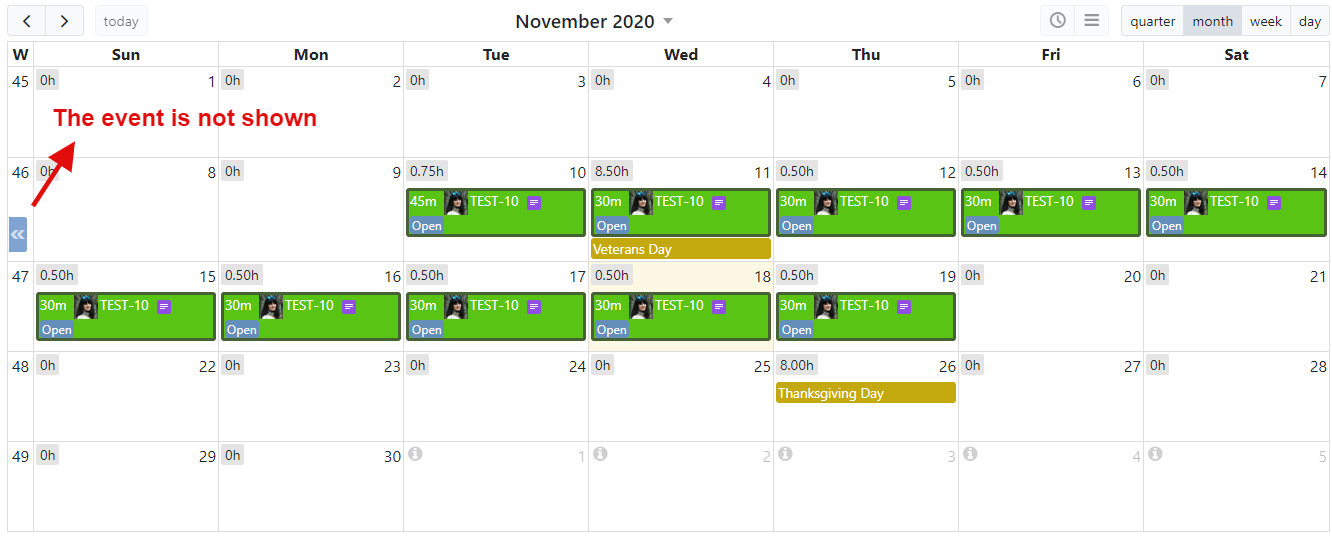
When retrieving worklogs for the currently displayed calendar period, we fetch work records started one day before the current period start date. In case when a worklog started more than 24 hours prior visible period start date and lasts for more than 48 hours so it overlaps with the current period, it is not shown on a calendar unless user navigates to the period that includes this worklog. |
For instance, you've created a 62-hour long worklog that starts on October 30th, 2020 and ends on November 1st, 2020.
...
 |
When you open your calendar in monthly view for November 2020, you will not see the event.
...
 |
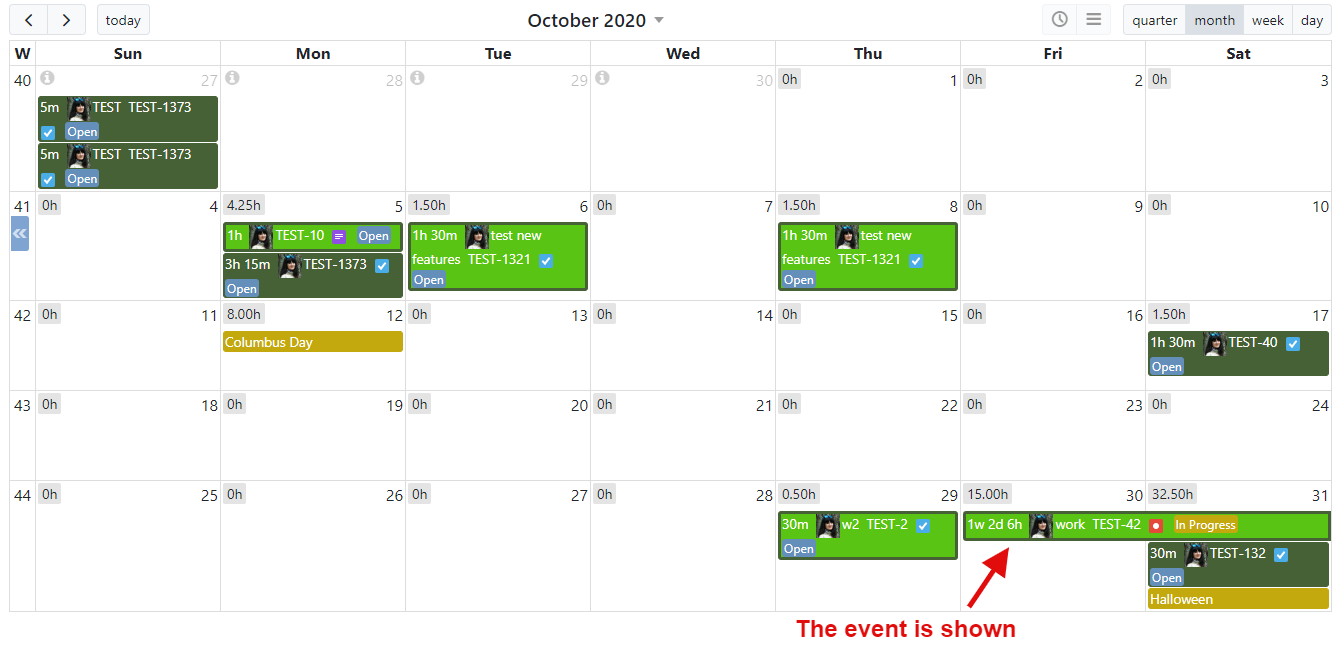
If you navigate to previous calendar period, October 2020, you will see the event.
...
 |
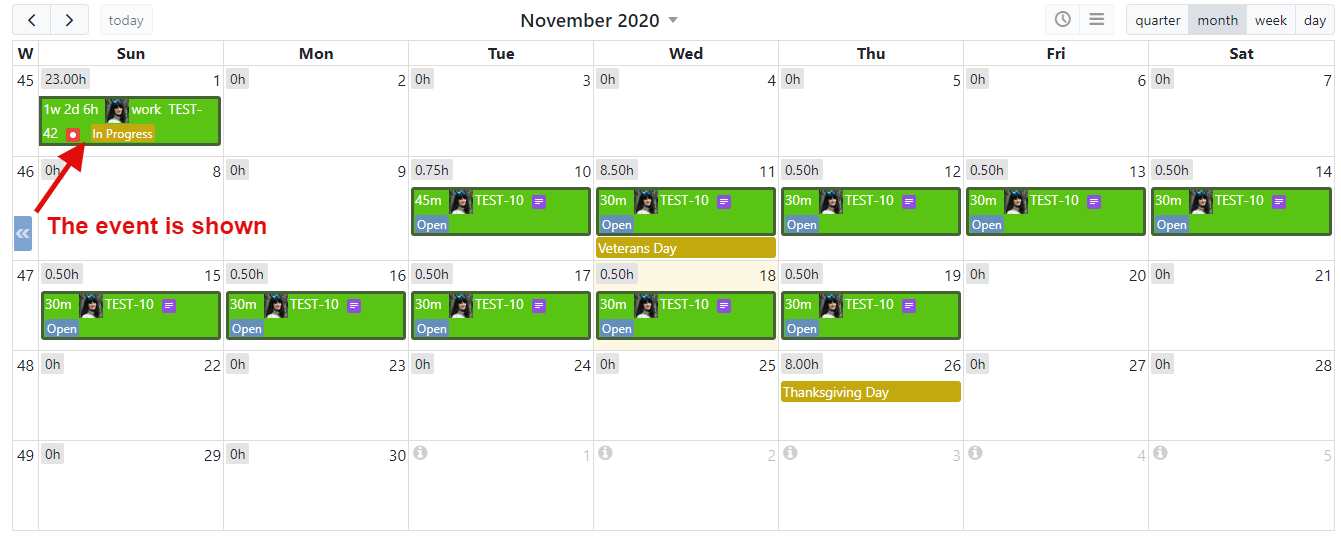
Once clicked the right arrow to be navigated to the next calendar period, November 2020, you will see the event.
...
 |
| Tip |
|---|
Starting app version 5.5.x, you’ll see a time tracking bar on Create Event, Edit Event and Log Work dialogs. |
...