v 5.0.x Reports
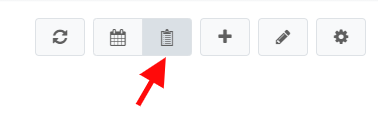
To switch from Calendar mode to Report mode, click the Report mode button, located on the top right corner of the screen.
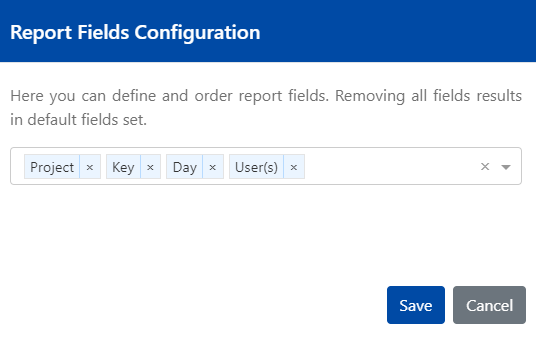
You'll be presented by the next screen. Here, you can configure the fields to be displayed on the reports.

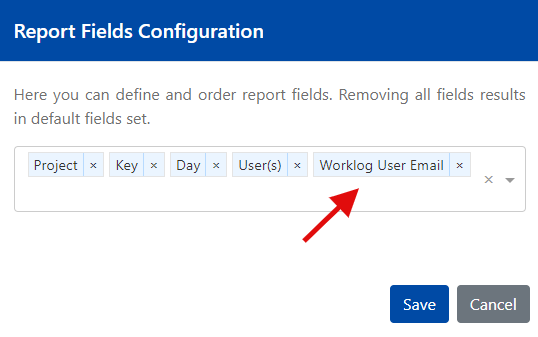
The four fields are configured for the reports by default. These are: Project, Key, Day, and User(s).
You can add, remove or rearrange by drag-and-drop the fields, on the report configuration.
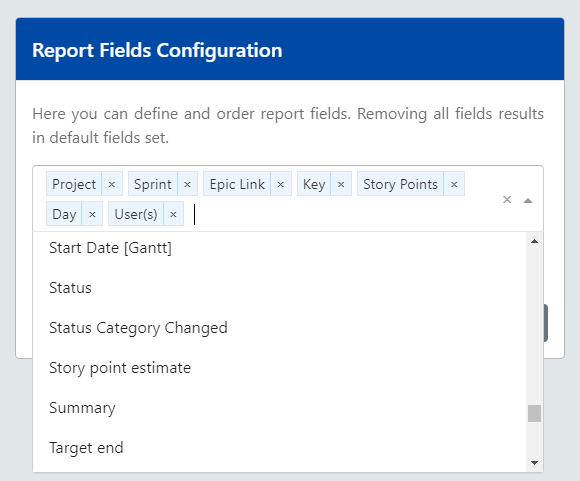
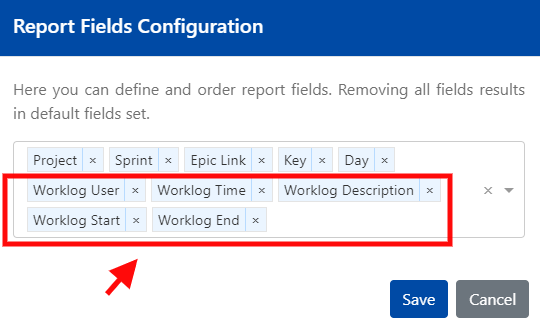
For your convenience, we've also implemented the feature to add the fields that are specific for the worklog reports to the report configuration. Such as Worklog User, Worklog Time, Worklog Description, Worklog Start, and Worklog End.
Per your request, we've also added the possibility to include the field Worklog User Email to your reports.
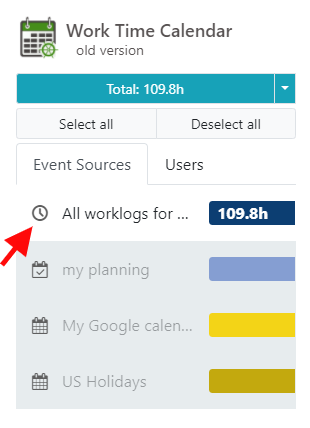
Before generating a report, please make sure that all required sources and users are enabled, on the left panel.
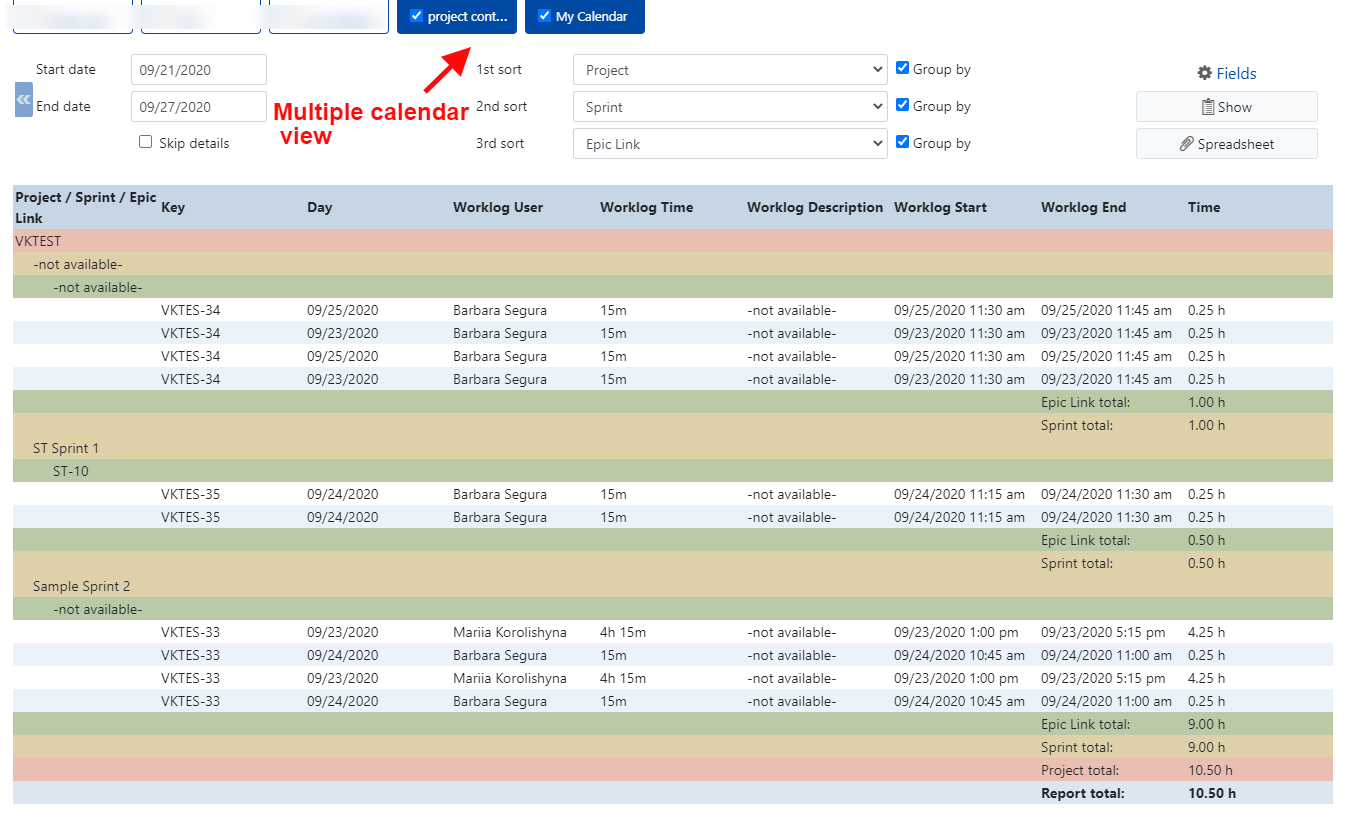
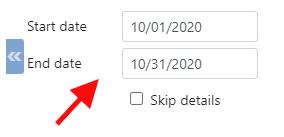
Make sure to check the selected start and end dates:
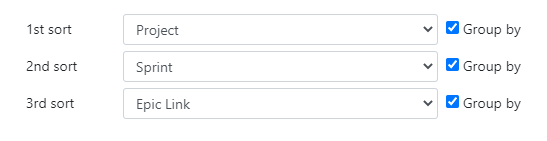
Create worklog grouping by the fields if needed:
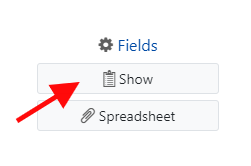
Click the Show button to generate a report:
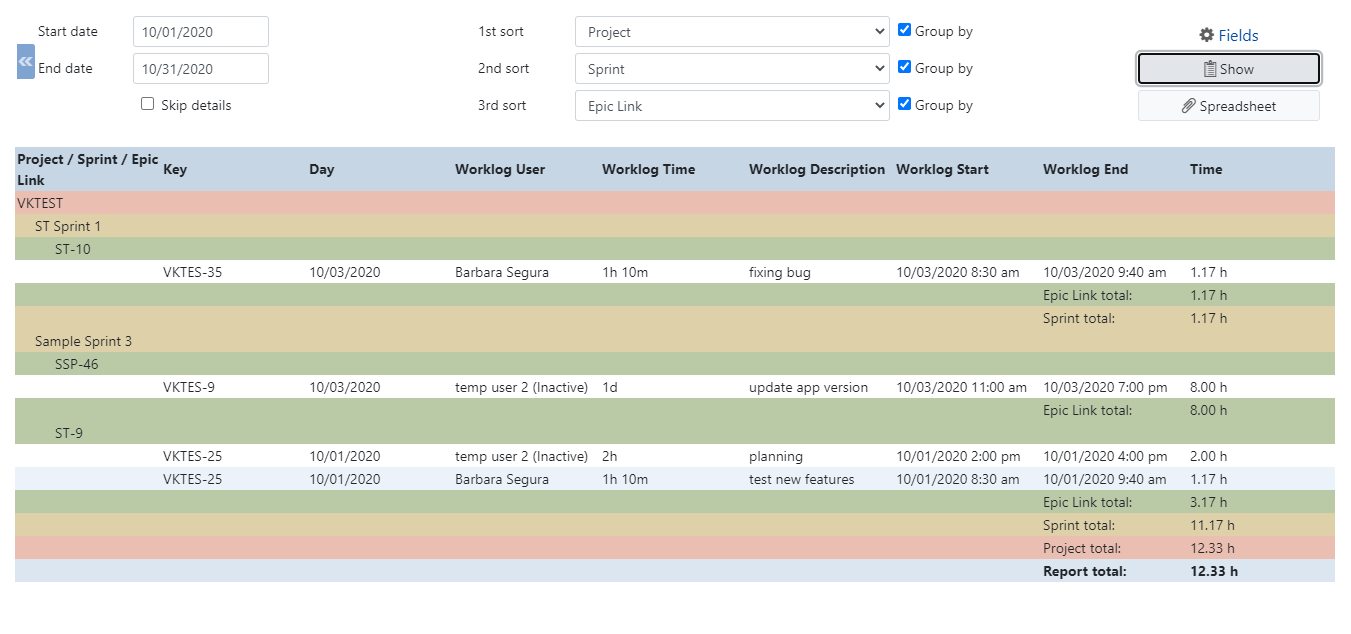
Your report might look similar to below:
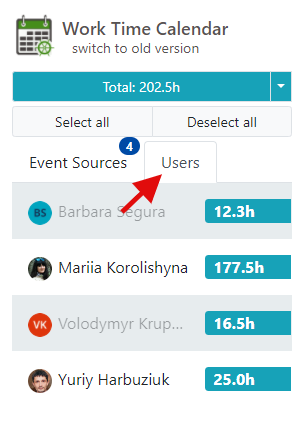
To filter users, prior to generating a report, please refer to Users tab on the left panel. Make sure the users you would like to generate reports for are enabled. Simply click on user to exclude him or her from reports.
The reports can be generated for the multiple calendars as well: